Finishing the Mosaics, Completing the Oven, and More Out-and-About
This has been copied from another blog site, written by me after travelling to Cyprus in September 2018. I want to keep it for reference, as it was an important pivotal trip for my mosaic practice.
Days Five and Six of our trip were focused on finishing our mosaics and completing the adobe brick oven, with scatterings of other cultural activities in-between. So rather than doing my usual timeline of activities, I will write it up by project/theme. And some of day seven may well have been included here too!
We started first thing in the morning by grouting our mosaics… well, mine were different, so I assisted the others with theirs, and floated about the courtyard like a spare part! Using fingers and paper towels as tools in the clean up wouldn’t be my way of working, I am a credit card (or store card) for spreading the grout & cut up towels for wiping excess away kind of girl.

I wrote about the finished mosaics, with pictures, in a previous blog, so click here to see them.
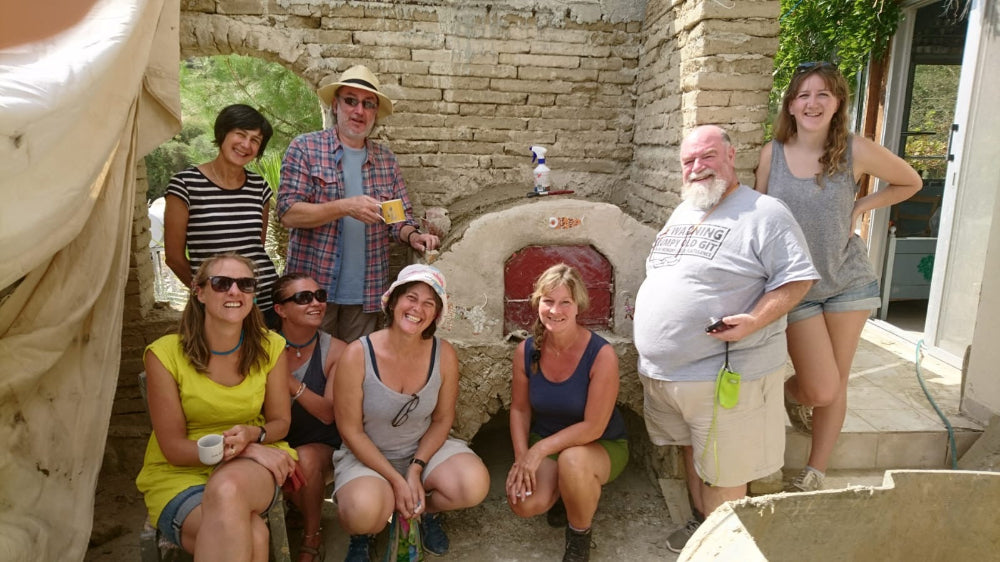
The adobe brick oven was also in for some serious work, building up the walls and the domed section of the oven.
Having created a big load of bricks out of straw, clay, liquid and soil (see day one for the process), we started building up. The bricks needed to be laid in a staggered way, so that there were some that went across both lines, tying in all faces of the walls. The left hand side image was a demonstration without any “mortar”.


Once the dome was made, the front was completed, leaving a space for the oven door – though the hinge part was also fixed in. As you can imagine, it was a bit too messy for much photography, though it is quite well covered in our film which we made.
When all the bricks were in place, we did a final coat over the surface, and it was at this point that my mosaic were put in place, purely by pushing them into the surface until all the tesserae were touching the mortar mix. All a bit experimental, but it worked. The blue nugget in the centre of the flower came from the silver-smith’s workshop, a by-product of their work.

I was also challenged to make something of a broken fish shaped jug, so with a bit of careful nibbling, I managed to get the head cut out, which was also fixed into the mortar.

Once the mortar had a chance to dry, the polystyrene arch was removed and we then rendered it with a lime-mix screed, which dried to a soft creamy/grey tone.


With the mosaics, I delicately grouted them with the mix, making sure that I did not dislodge any of the pieces, and then as the “grout” dried, cleaned it off the top surfaces.


If I were to critique my work, and were I to do it again, I would have either used less white (though most of the crockery at my disposal was white) or ask that the mortar be tinted darker, as the cow (and the goat a bit) look somewhat insipid, and the grout / tesserae colour combe is so important!
So that was the kiln finished.

Another activity on-site was the making of small ceramic acorns – squeezed in as an activity as only a couple of people could do the rendering at any one time. Kato Drys means Ancient Oak, so as part of Martin’s Green Village project, they sell these acorns. I couldn’t resist making a flamingo too.

In amongst all this, we had the chance to visit the Choirokoita Neolithic Settlement, which included a re-creation of a small settlement. Blisteringly hot, I realised that I am so much more interested in the decorative elements of a building than it’s construction and function. So much so, that the pictures that I took that day were more about their information centre, and how it’s design could be used by Comrie Croft near me!

We also got to go wine tasting, which is always fun. And I duly came home with some honey, grape juice and a bottle of RED WINE….

And a bit of walking around the town of Lefkara, between our accommodation, the student house and Martin’s house, I was able to do a bit of door envy. Very on-trend with my love of turquoise & blue doors – the more dilapidated the better!

And finally, inspiration in the student’s house. It had a lovely vibe in the courtyard, and great wall-art in the kitchen, accompanied by a poem, which has already triggered another thought process for another mosaic. That is what it is all about.

